ROV to Tether Strain Relief
Use the following procedures to install and secure the vehicle to the tether to prevent loss of the vehicle due to a connection failure. The strain relief cable may already be attached to the tether. If so, you can skip steps 1 to 3.
 Failure to connect the strain relief properly may result in loss of the vehicle. Failure to connect the strain relief properly may result in loss of the vehicle.
- Insert the loop end of the tether webbing into the loop end of the strain relief cable.
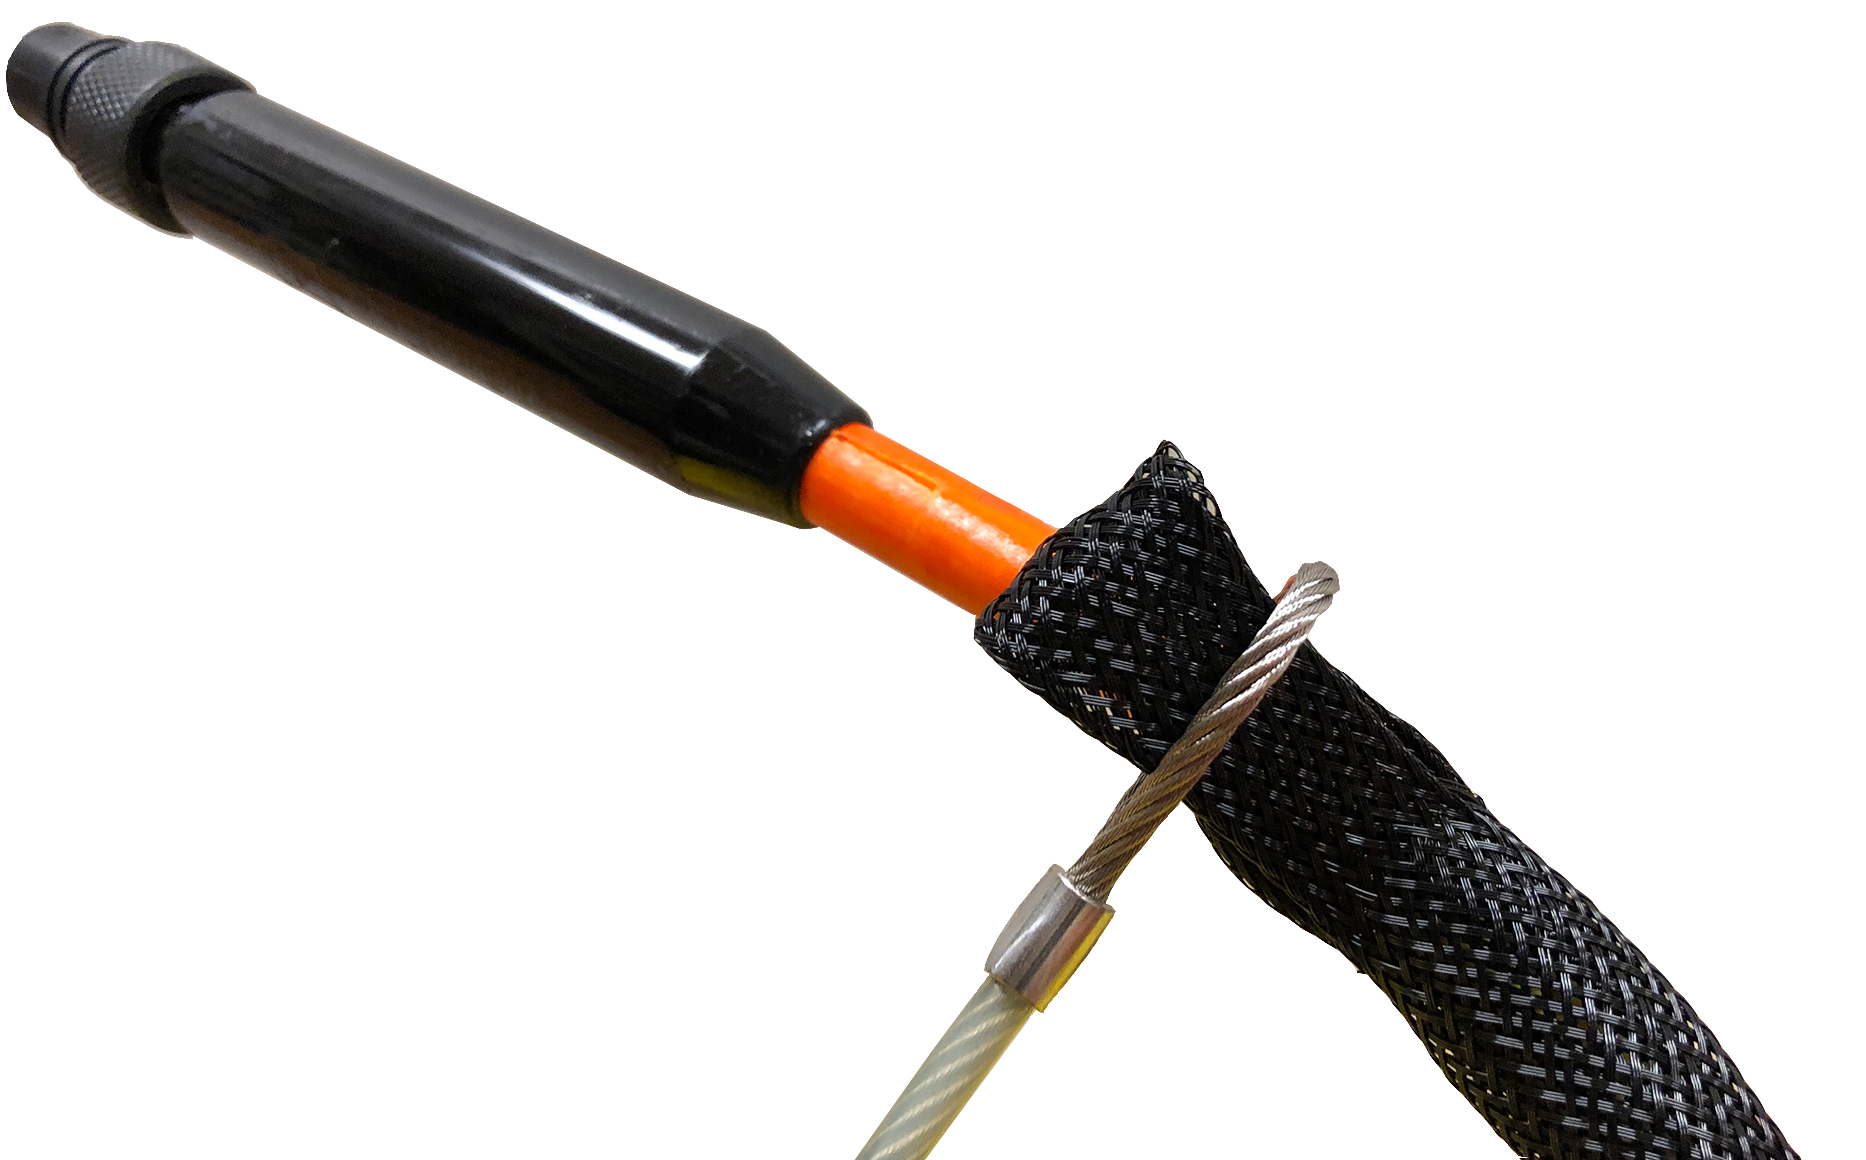
- Pass the eye socket end of the strain relief cable through the loop end of the tether webbing.
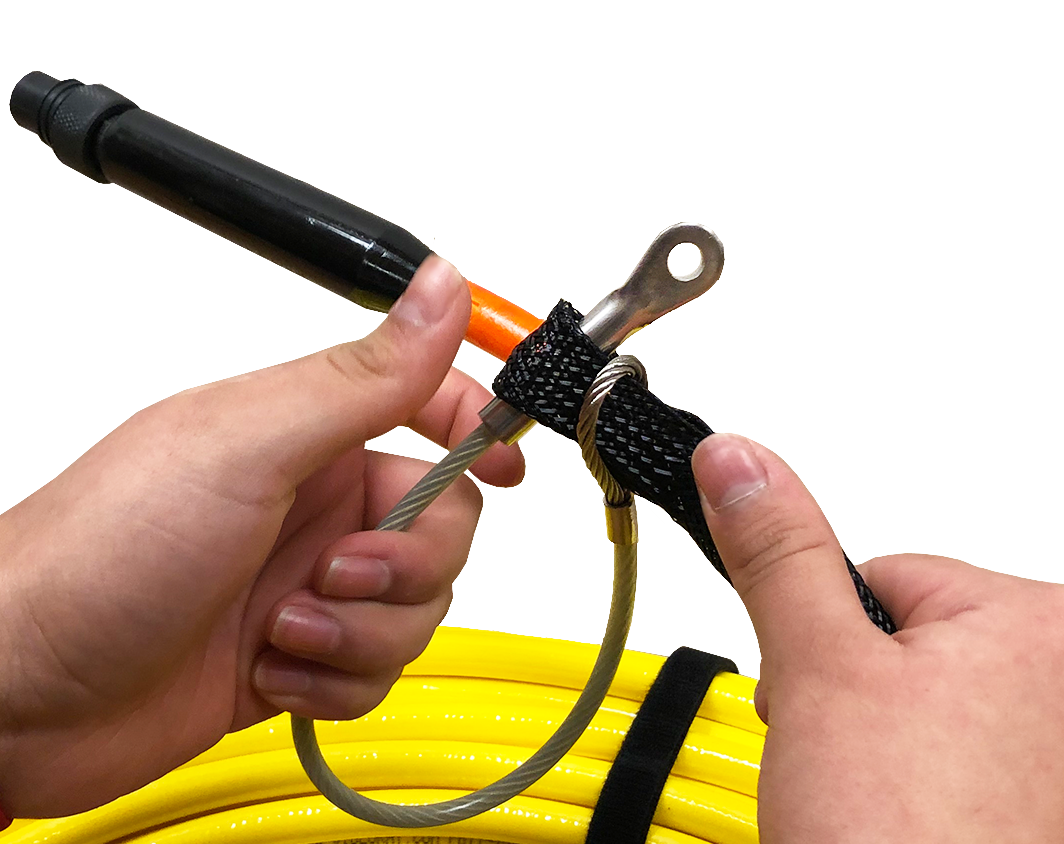
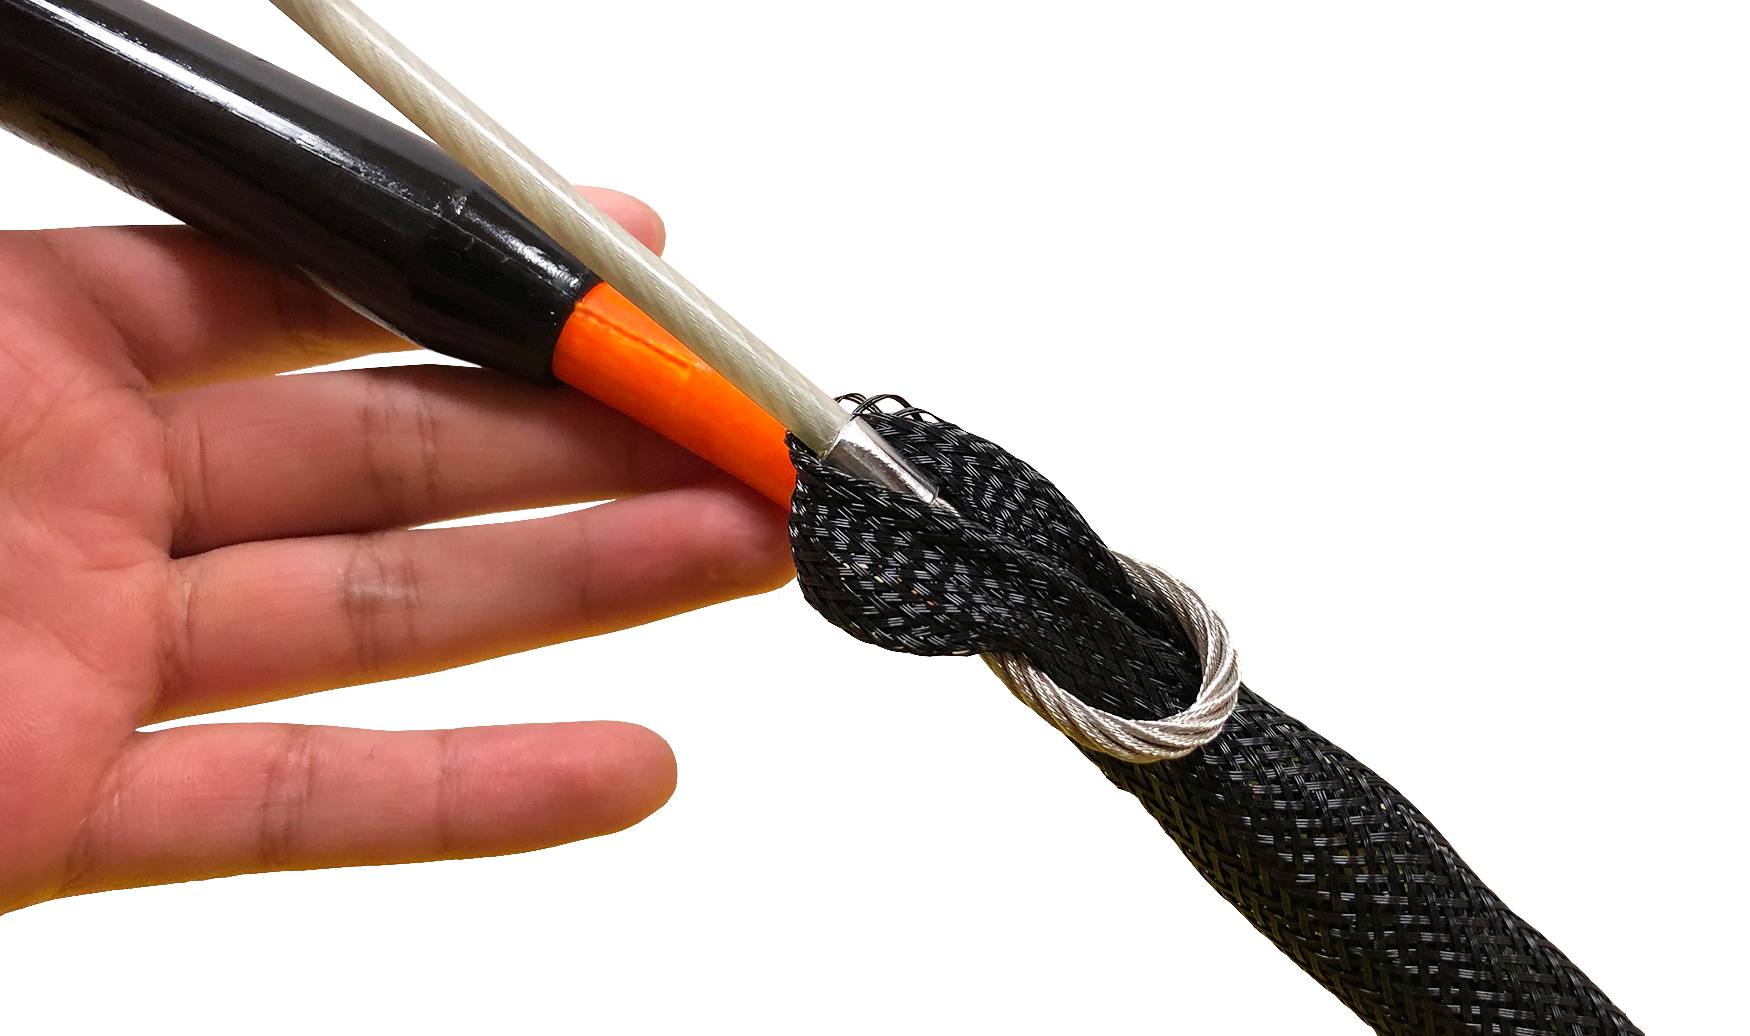
- Pull the eye socket end of the strain relief cable to secure the connection.
- Align the pins and insert the male ROV whip connector to the female tether connector until the faces mate. Secure the connection with the locking collar.

- Insert the strain relief eye socket into the hole in the frame and secure it with the retaining screw.

- Make sure the connection is secure and that all of the load is carried by the strain relief and there is no load on the tether connection.

 When working in an area where there is a chance the tether can become snagged on a protruding object, the connection can be wrapped with tape to prevent a protruding object from passing through the space between the tether and the strain relief cable. When working in an area where there is a chance the tether can become snagged on a protruding object, the connection can be wrapped with tape to prevent a protruding object from passing through the space between the tether and the strain relief cable.
|