Virtual Port Setup
A Virtual Port may be required to connect an external computer to the Operator Control Console for device integration communications requirements.
Setting up a virtual port requires software on the host compture. VideoRay uses Eltima's, Serial over Ethernet software. The following instructions explain the setup of the Virtual Port to integrate a Cygnus UT gauge. The Virtual Port is installed on the external computer to convert the data from the device (via the ROV and Operator Control Console) over Ethernet to a serial port that can be accessed by the CygLink Software.
 The IP address of the external computer running the CygLink software is manually set to 192.168.1.3 (VideoRay's default IP address for integration purposes). The IP address of the external computer running the CygLink software is manually set to 192.168.1.3 (VideoRay's default IP address for integration purposes).
- Connect the ROV system and turn it on, but do not start Greensea Workspace.
- Make sure the vehicle has power/communication (use a terminal window and ping 192.168.1.64), then turn off power to the ROV so it does not overheat while performing the rest of the setup.
- Connect an Ethernet cable from the Operator Control Console to the external computer. Verify that the external computer recognizes the connection.
- Install the Eltima software onto the external computer.
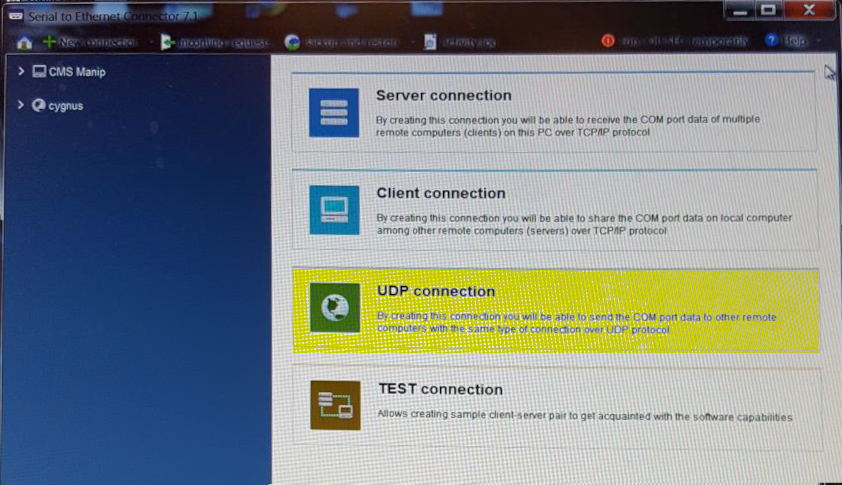
- Open up the Eltima software and click on "UDP connection."
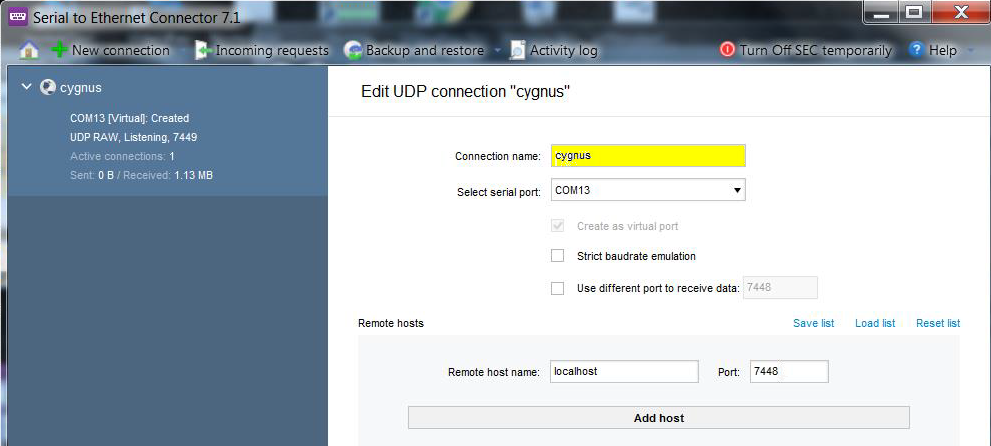
- Type Cygnus in the "Connection Name" field.
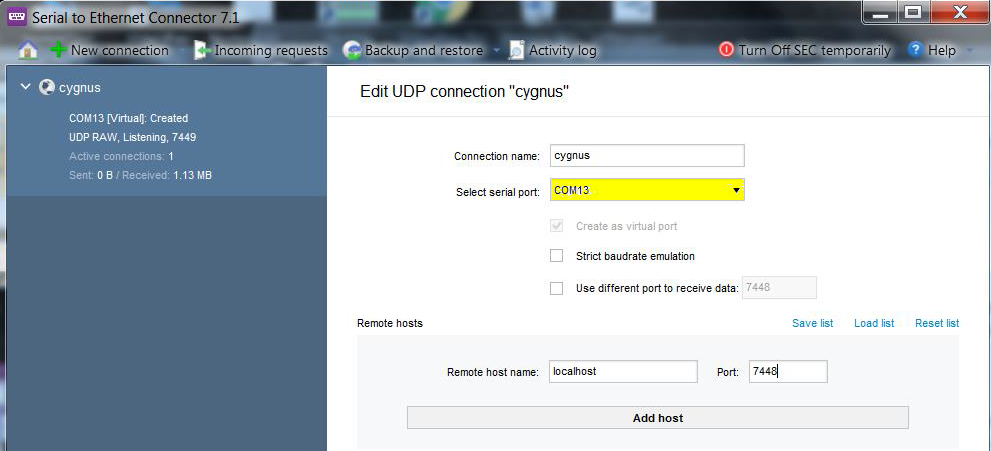
- In Select serial port, click on the down arrow and click on "COM13" (any serial port can be used).
- Type localhost in the "Remote Host Name" field.

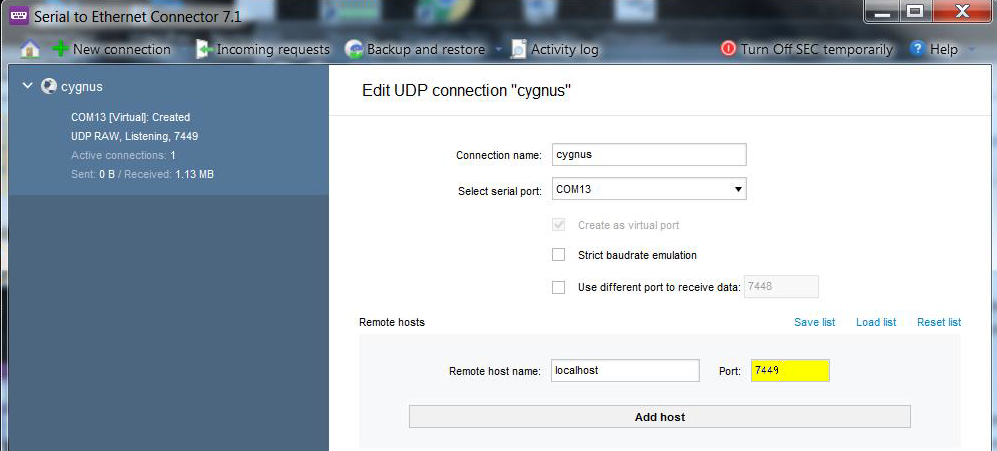
- type 7449 in the "Port" field (This is the default port number assigned to Port 6 on the Operator Control Console).
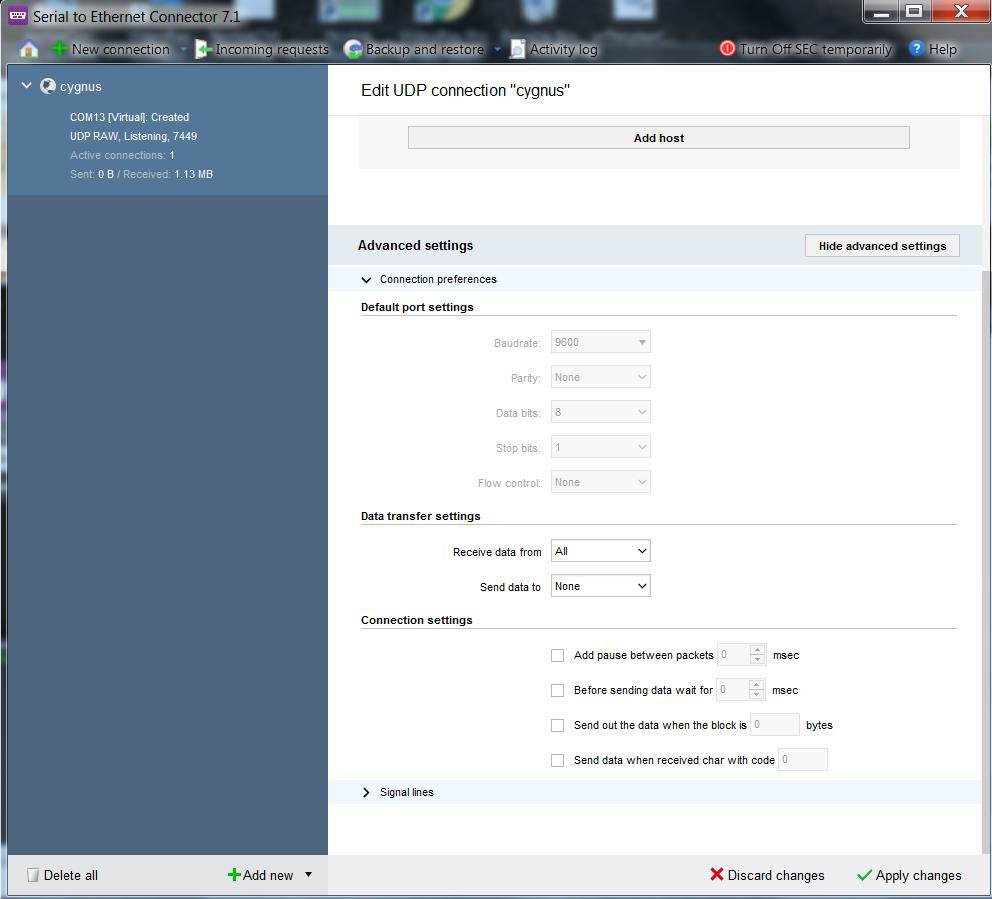
- Click on "Advanced Settings" and make sure it matches the image below. Note the baud rate does not matter at this point.
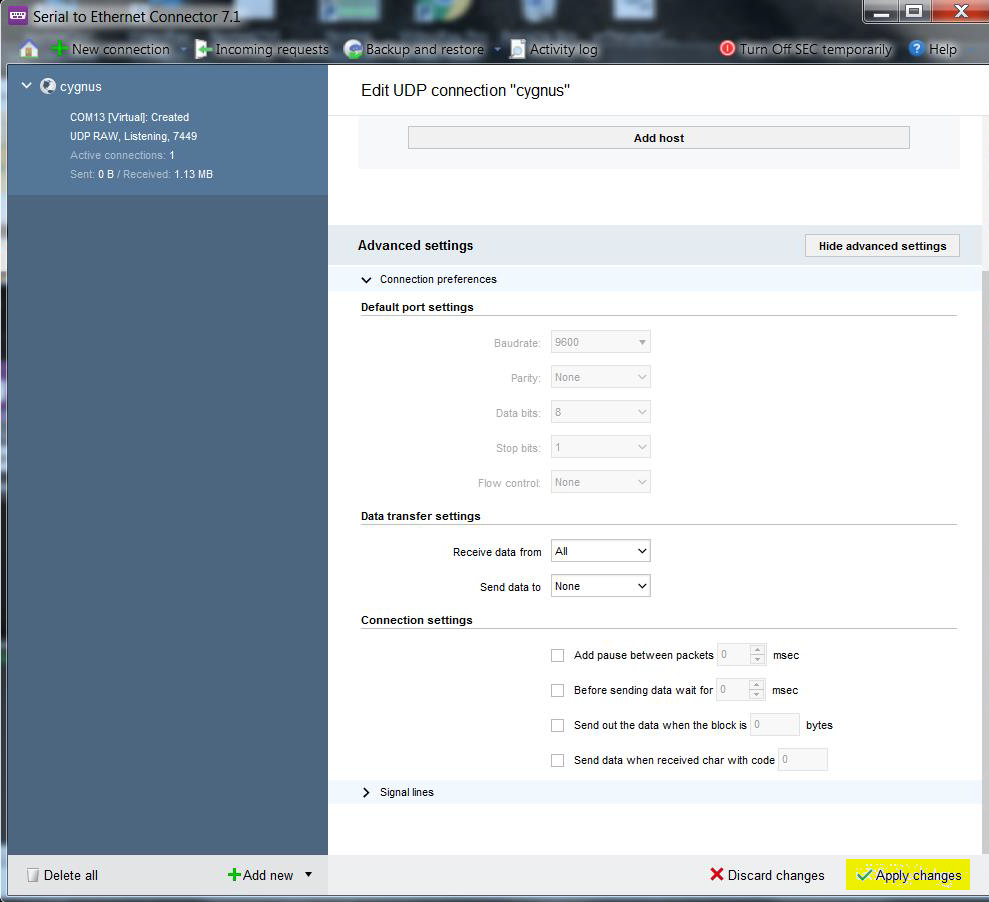
- Click on "Apply Changes" to save the Connection.
|
