Setting Up the DAGR for Use with |
Lesson Information |
Setting Up the DAGR for Use with the Mission Specialist DefenderLesson Description
|
Setting Up the DAGR for Use with |
Lesson Information |
Setting Up the DAGR for Use with the Mission Specialist DefenderLesson Description
|
Setting Up the DAGR for Use with |
Overview |

|
The DAGR is a advanced encrypted GPS receiver. This lesson shows you how to configure the device's communications settings so that it can be used with the Mission Specialist Defender and Greensea EOD Workspace software.
This image shows the front and back of the DAGR, including the J2 port.
|
Setting Up the DAGR for Use with |
Connection |

| The DAGR uses a custom cable to connect from the DAGR Port 2 (J2) to a USB port on the Operator Control Console. |
Setting Up the DAGR for Use with |
Communications Configuration Requirements |
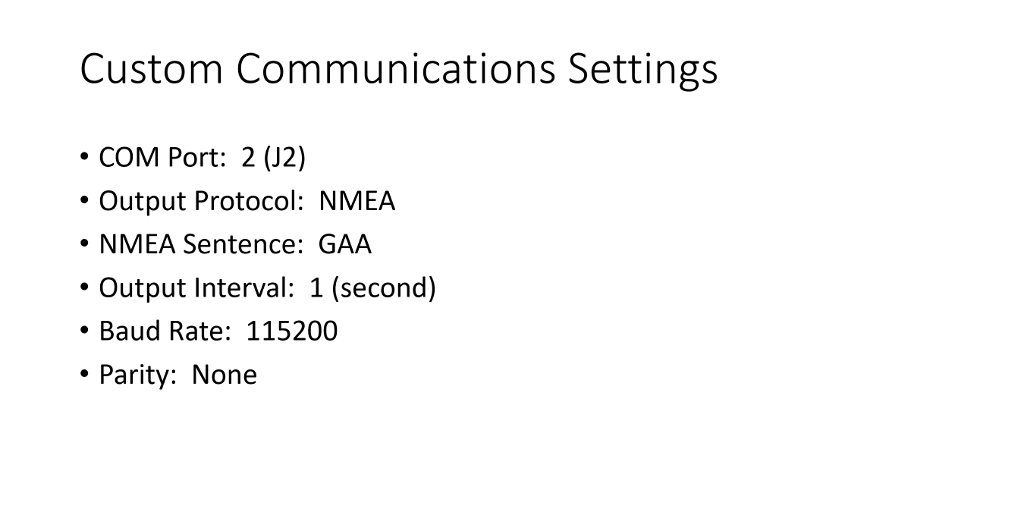
The DAGR's COM Port 2 must be configured as show here:
|
Setting Up the DAGR for Use with |
Choose Your Path |
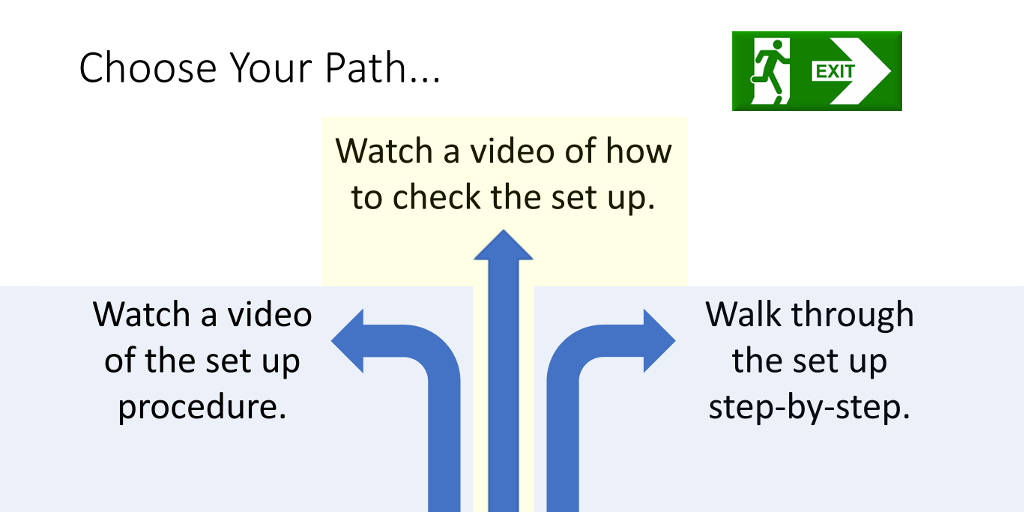
You have several options. You can:
Click on the shaded area of the desired path to follow. Each path will return here when completed. You can go to the lesson completion page by clicking on the EXIT button. |
Setting Up the DAGR for Use with |
Checking the Set Up Optional Section: Checking the Set Up |

| This video shows how to check the COM Port Setup for the DAGR to be compatible with the Mission Specialist Defender Operator Control Console. |
Setting Up the DAGR for Use with |
Set Up Procedure Optional Section: Set Up Procedure |
| This video shows how to configure the COM Port Setup for the DAGR to be compatible with the Mission Specialist Defender Operator Control Console. |
Setting Up the DAGR for Use with |
Power On Optional Section: Step-by-step |
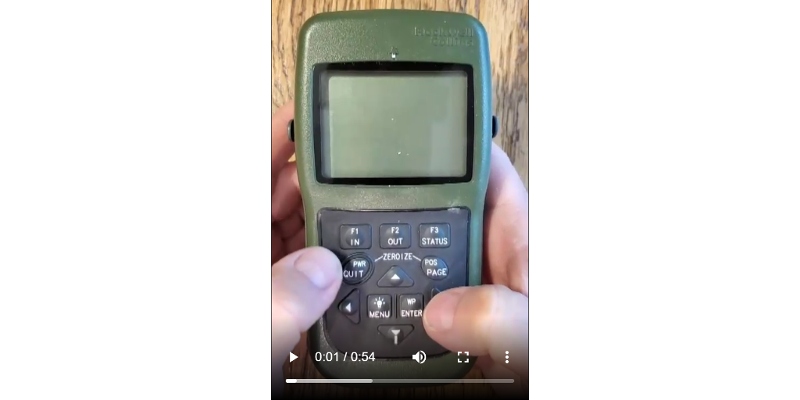
Begin by turning on the DAGR.
|
Setting Up the DAGR for Use with |
Communications Menu Optional Section: Step-by-step |

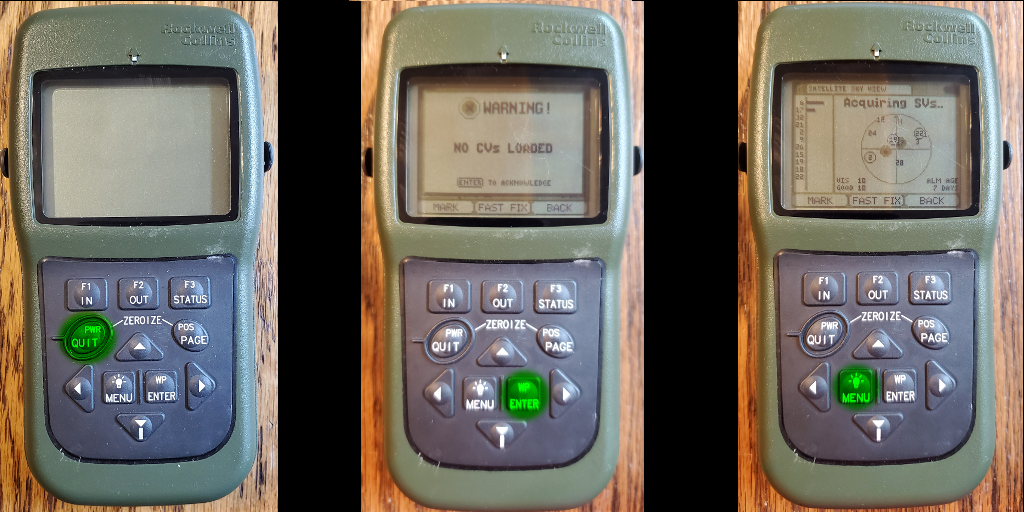
You will now see the menu for the main display page.
|
Setting Up the DAGR for Use with |
COM Port Set Up Optional Section: Step-by-step |

Navigate to the COM Port Setup with the Communications Settings.
|
Setting Up the DAGR for Use with |
Independent Port Configuration Optional Section: Step-by-step |

The DAGR's COM Port 2 must be configured as show here:
|
Setting Up the DAGR for Use with |
COM Port 2 Selection Optional Section: Step-by-step |

We need to configure COM Port 2 to communicate with the Defender Operator Control Console.
|
Setting Up the DAGR for Use with |
COM Port 2 Settings Optional Section: Step-by-step |

You are now ready to configure COM Port 2 with the proper settings to communicate with the Defender Operator Control Console.
|
Setting Up the DAGR for Use with |
NMEA Protocol Optional Section: Step-by-step |

Change the OUT PROTOCOL to NMEA.
|
Setting Up the DAGR for Use with |
Baud Rate Optional Section: Step-by-step |

Change the OUT BAUD Rate to 115200.
|
Setting Up the DAGR for Use with |
Output Interval Optional Section: Step-by-step |

Change the NMEA INTERVAL to 1 second.
|
Setting Up the DAGR for Use with |
GGA Sentence Optional Section: Step-by-step |

Change the NMEA Sentence to GGA.
|