Camera Menu Operation and Default Settings
The VideoRay Pro 4 camera includes sophisticated features that can be used to enhance the image quality in various lighting conditions. These features are controlled through the camera menu system.
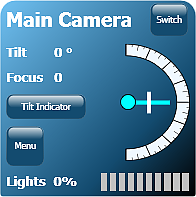
The camera menu can be accessed by clicking on the Menu button on the VideoRay Cockpit camera instrument. This will display the menu as text overlaid on the video window. Each menu item represents a sub-menu where settings can be adjusted.
|
|
Camera Menu Navigation
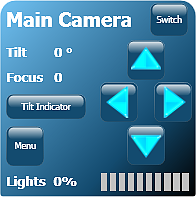
After clicking on the Menu button, the camera menu displays in the video window and the camera instrument displays menu navigation buttons. Click on the up and down arrow buttons to navigate from one sub-menu to the next. Once the desired sub-menu is highlighted, activate the sub-menu by clicking on the left or right arrow buttons. You can also use the keyboard arrow keys to navigate the menu.
|
|
|
Within a sub-menu, use the up and down buttons or keys to navigate from one feature to the next. Features can be changed by using the left or right buttons or keys. To exit a sub-menu, navigate to the Return sub-menu item and activate it using the left or right buttons or keys. To exit the main menu, navigate to the Exit menu item and activate it using the left or right buttons or keys.
![]() Be aware that VideoRay Pro 4 does not use the same defaults as the camera manufacturer's Factory Default settings. For VideoRay Pro 4 the Lens Type must be set to "ELC," and the DSS must be set to "1X." To quickly restore the camera to the recommended VideoRay Pro 4 camera menu default settings, first restore the factory default settings, and then change the Lens Type to "ELC" in the Lens sub-menu, and change the DSS setting to "1X" in the Exposure sub-menu.
Be aware that VideoRay Pro 4 does not use the same defaults as the camera manufacturer's Factory Default settings. For VideoRay Pro 4 the Lens Type must be set to "ELC," and the DSS must be set to "1X." To quickly restore the camera to the recommended VideoRay Pro 4 camera menu default settings, first restore the factory default settings, and then change the Lens Type to "ELC" in the Lens sub-menu, and change the DSS setting to "1X" in the Exposure sub-menu.


